Does your kitchen equipment taunt you? Maybe it’s a stand mixer, gathering dust on your countertop. A cast iron skillet peering out from behind those lower-maintenance pots and pans. An immersion blender that hasn’t seen any action since 2003.
For me, it was three gleaming KitchenAid pasta attachments and a still-packaged pasta drying rack—staring me in the face every time I reached to grab their more popular cousin, the pizza stone. Then finally, a year after I got them as wedding gifts, it was their turn.
Fresh pasta
(Adapted from Mario Batali’s fresh pasta recipe)

You’ll need:
3 1/2 cups of flour
5 medium eggs
Water to moisten as needed
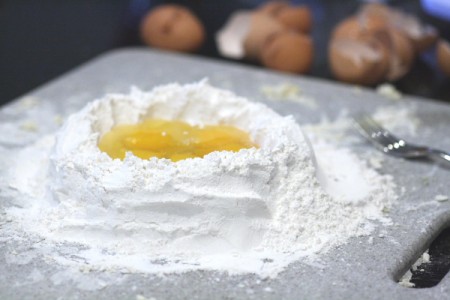
Shape flour into a mound on a large flat surface (wood is ideal, but I used a large Corian cutting board, and any flat, clean surface will work) and form a large well in the middle of the flour. Crack the eggs in the well.
Using a fork, scramble the eggs inside the well and slowly begin to incorporate the flour working your way from the inside out.
You’ll have a shaggy mess on your hands at this point. If it’s too dry to incorporate into one ball of dough, add water. It should be sticky, but workable.
Add some more flour to your work surface and begin to knead the dough. If it’s too tough and hard to work with, add a little more water. Knead for 6-8 minutes. You’ll know the dough is ready when it’s smooth, elastic and doesn’t stick to surfaces.
Cover your dough with plastic wrap and let it rest for 20 minutes. This is a very important step.
If you’re attempting to hand-roll your pasta, more power to ya. For your sanity, I recommend the mechanical route.
Cut the dough into four or eight pieces (eight is easier to work with, but if you want long, wide sheets of lasagna, for example, you might want to do four). Flatten the first piece to about 1/2-inch thick with your palm or a rolling pin, and feed it through the pasta maker, starting with the largest thickness setting (usually the “1” setting).
Incrementally increase the setting each time you feed the dough through the pasta maker.
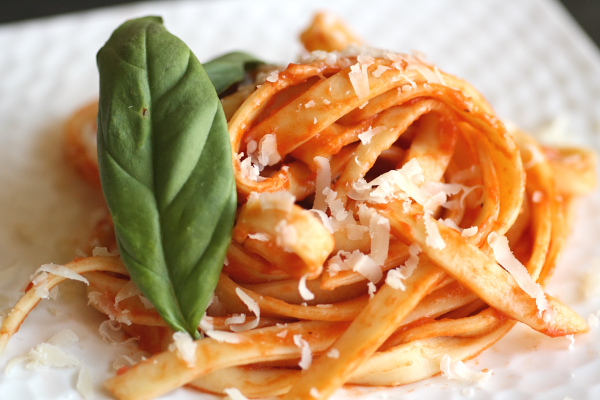
My pasta was a tiny bit too thick, I think, so next time I’ll follow the tips I found: pasta should absolutely be no thicker than 1/16 of an inch and a good rule of thumb is to roll it out to the second-to-thinnest thickness setting on your pasta maker. Repeat this with the other portions of dough and cut pasta to the desired shape. I ran my sheets through another attachment to make linguini.
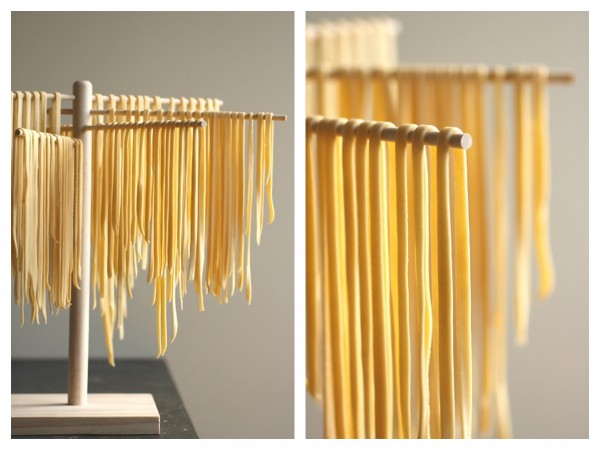
Dust your cut pasta with flour and dry on a drying rack or flat surface for 20 minutes or so. If you aren’t ready to cook it right away, freeze in plastic bags for later use. Cook fresh pasta for 2-3 minutes and prepare as desired.
I’m already itching to make more pasta, and the next time I do, I think I’ll draw a little inspiration from The Geometry of Pasta, a fantastic graphic depiction of pasta’s many forms. This book is beautiful, elegant and simple in a way you probably never thought a cookbook could/should be.
And there’s enough material in there to keep my kitchen covered in a fine layer of flour—and to help ensure my pasta-making equipment will never again suffer from neglect.


8 Comments
kat
I love fresh pasta too! Beautiful photos!!! I’m in awww 🙂
Aly
I’ve been thinking about getting the kitchenaid attachments for pasta but wasn’t sure if I should just buy a separate pasta maker.
admin
The kitchenaid attachments are fantastic–super sturdy, well-constructed. They’re made in Italy and you can tell they are the real deal. I’m sure a standalone would work just as well, but you gotta love the kitchenaid ones!
Karen Miller
Thanks for the refreshing story on pasta making. Inspiration to make my own whole wheat linguini with the pasta machine stuffed in the back of the cabinet!
Angela
The pasta looks lovely! Out of curiosity, where did you get the pasta drying rack??
admin
Thanks! It was actually a wedding gift, but I think we had registered for it on Amazon.com and it was a pretty reasonable price.
Maureen
I am obsessed with this post and can think of nothing other than making my own pasta from scratch at the earliest opportunity. I don’t have a pasta maker though, so I think I’m just going to go all out and do it all by hand.
Your photography is also beautiful.
Pingback: