
I was chatting with Melissa from CupcakesOMG! last week about food photography—cameras, techniques, etc. I’ve also been submitting several recipes and pictures to TasteSpotting, foodgawker and Photograzing. It got me thinking a lot about food photography.
I’m not the best authority on food photography, and my pictures are far from perfect, but I have taken several photography courses over the years. Throw me in a darkroom, even ask me to develop my own film, but don’t ask me to get much accomplished on Photoshop. Suffice to say that I have basic SLR photography skills but I’m still learning about the digital editing side of it all.
That said, here are my top 10 tips for other amateaur food photographers out there.
1. Get a good camera. I use a Canon EOS Rebel XS. It’s a good beginner’s SLR camera that features several settings, including manual (where you set the aperture, shutter speed—more on that to come) and automatic (point and shoot). I’ve heard from several people that this is the best camera in it’s class, and CNET agrees, at least in terms of picture quality. I’ve also had great experience with other Canon cameras.
2. The flash is NOT your friend. First of all you shouldn’t (Read: Can’t) use a flash in restaurants when taking pictures (except for maybe in the ask-the-waiter-for-a-group-picture scenario). More importantly however, the flash will NOT flatter your food. Here’s an example of how a flash can make a beautiful dish look horrendous:

AHHH!! Attack of the killer lobster covered in … what is that stuff?? Actually, it was a delicious beurre blanc sauce, but you’d never know by looking at this photo.
3. Don’t shy away from Manual labor. Your digital SLR may have a million settings and buttons you know nothing about (and may never use). If you do nothing else, set your camera to manual (usually a big “M” on the settings knob on the top of the camera) and experiment with shutter speed and aperture.
The shutter speed is the speed at which the camera’s shutter opens and closes to expose the image. For example, if your shutter speed is set at 1000 (or 1/1000), the shutter will open and close in one one-thousandth of a second. The longer the shutter is open, the higher the exposure to light.
In order to get the optimal shot, you’ll need to adjust shutter speed depending on the amount of light where you are shooting. In dark restaurants, for example, you’ll need a much slower shutter speed. Anything slower than 1/30 of a second and your picture may be a little blurry, unless you have very steady hands. In these situations you may want to use a tripod. Although not at the dinner table, please.
High shutter speeds are also needed to capture sharp actions shots, but unless your food is sprinting across the table and leaping over salt and pepper shakers, this point is irrelevant.
Aperture is the other variable that regulates the amount of light that reaches your camera’s image sensor. The lower the number, the higher the exposure.

Aperture is also directly related to depth of field. A short depth of field is the result of a wide aperture (smaller number setting). You know those pictures that have a great sharp foreground and a pleasantly blurry background? Chances are the aperture was wide (around a 4.5 to 9). Here’s an example:

Beautiful isn’t it? I think so. You’ll see this effect a lot in food photography, for two reasons: A) a wider aperture is often necessary in low-light situations, and B) it makes the food look all pretty and whimsy. Your camera will have a meter that will tell you when the aperture and shutter speed settings will produce an optimal exposure. Experiment with different combos. In my photography classes, we were required to note these so we could reproduce the shot/effect. Not a bad habit to get into.
4. Keep your composure. Composition can make or break a picture (as many of you whose photos have been rejected from TasteSpotting know all too well). I play around with the composition of my shots, but I really like shots where the main focal point/s is slightly off-center like this one:

I also like to take pictures where the focal points seem to fade off into the background (back to the aperture thing) like this one:

And I almost always take at least one shot directly from above, sometimes slightly off-center, like the first example of the masa flour above.
Also, get in as close as possible. We want to see the ground pepper granules on top of that shiny fried egg.
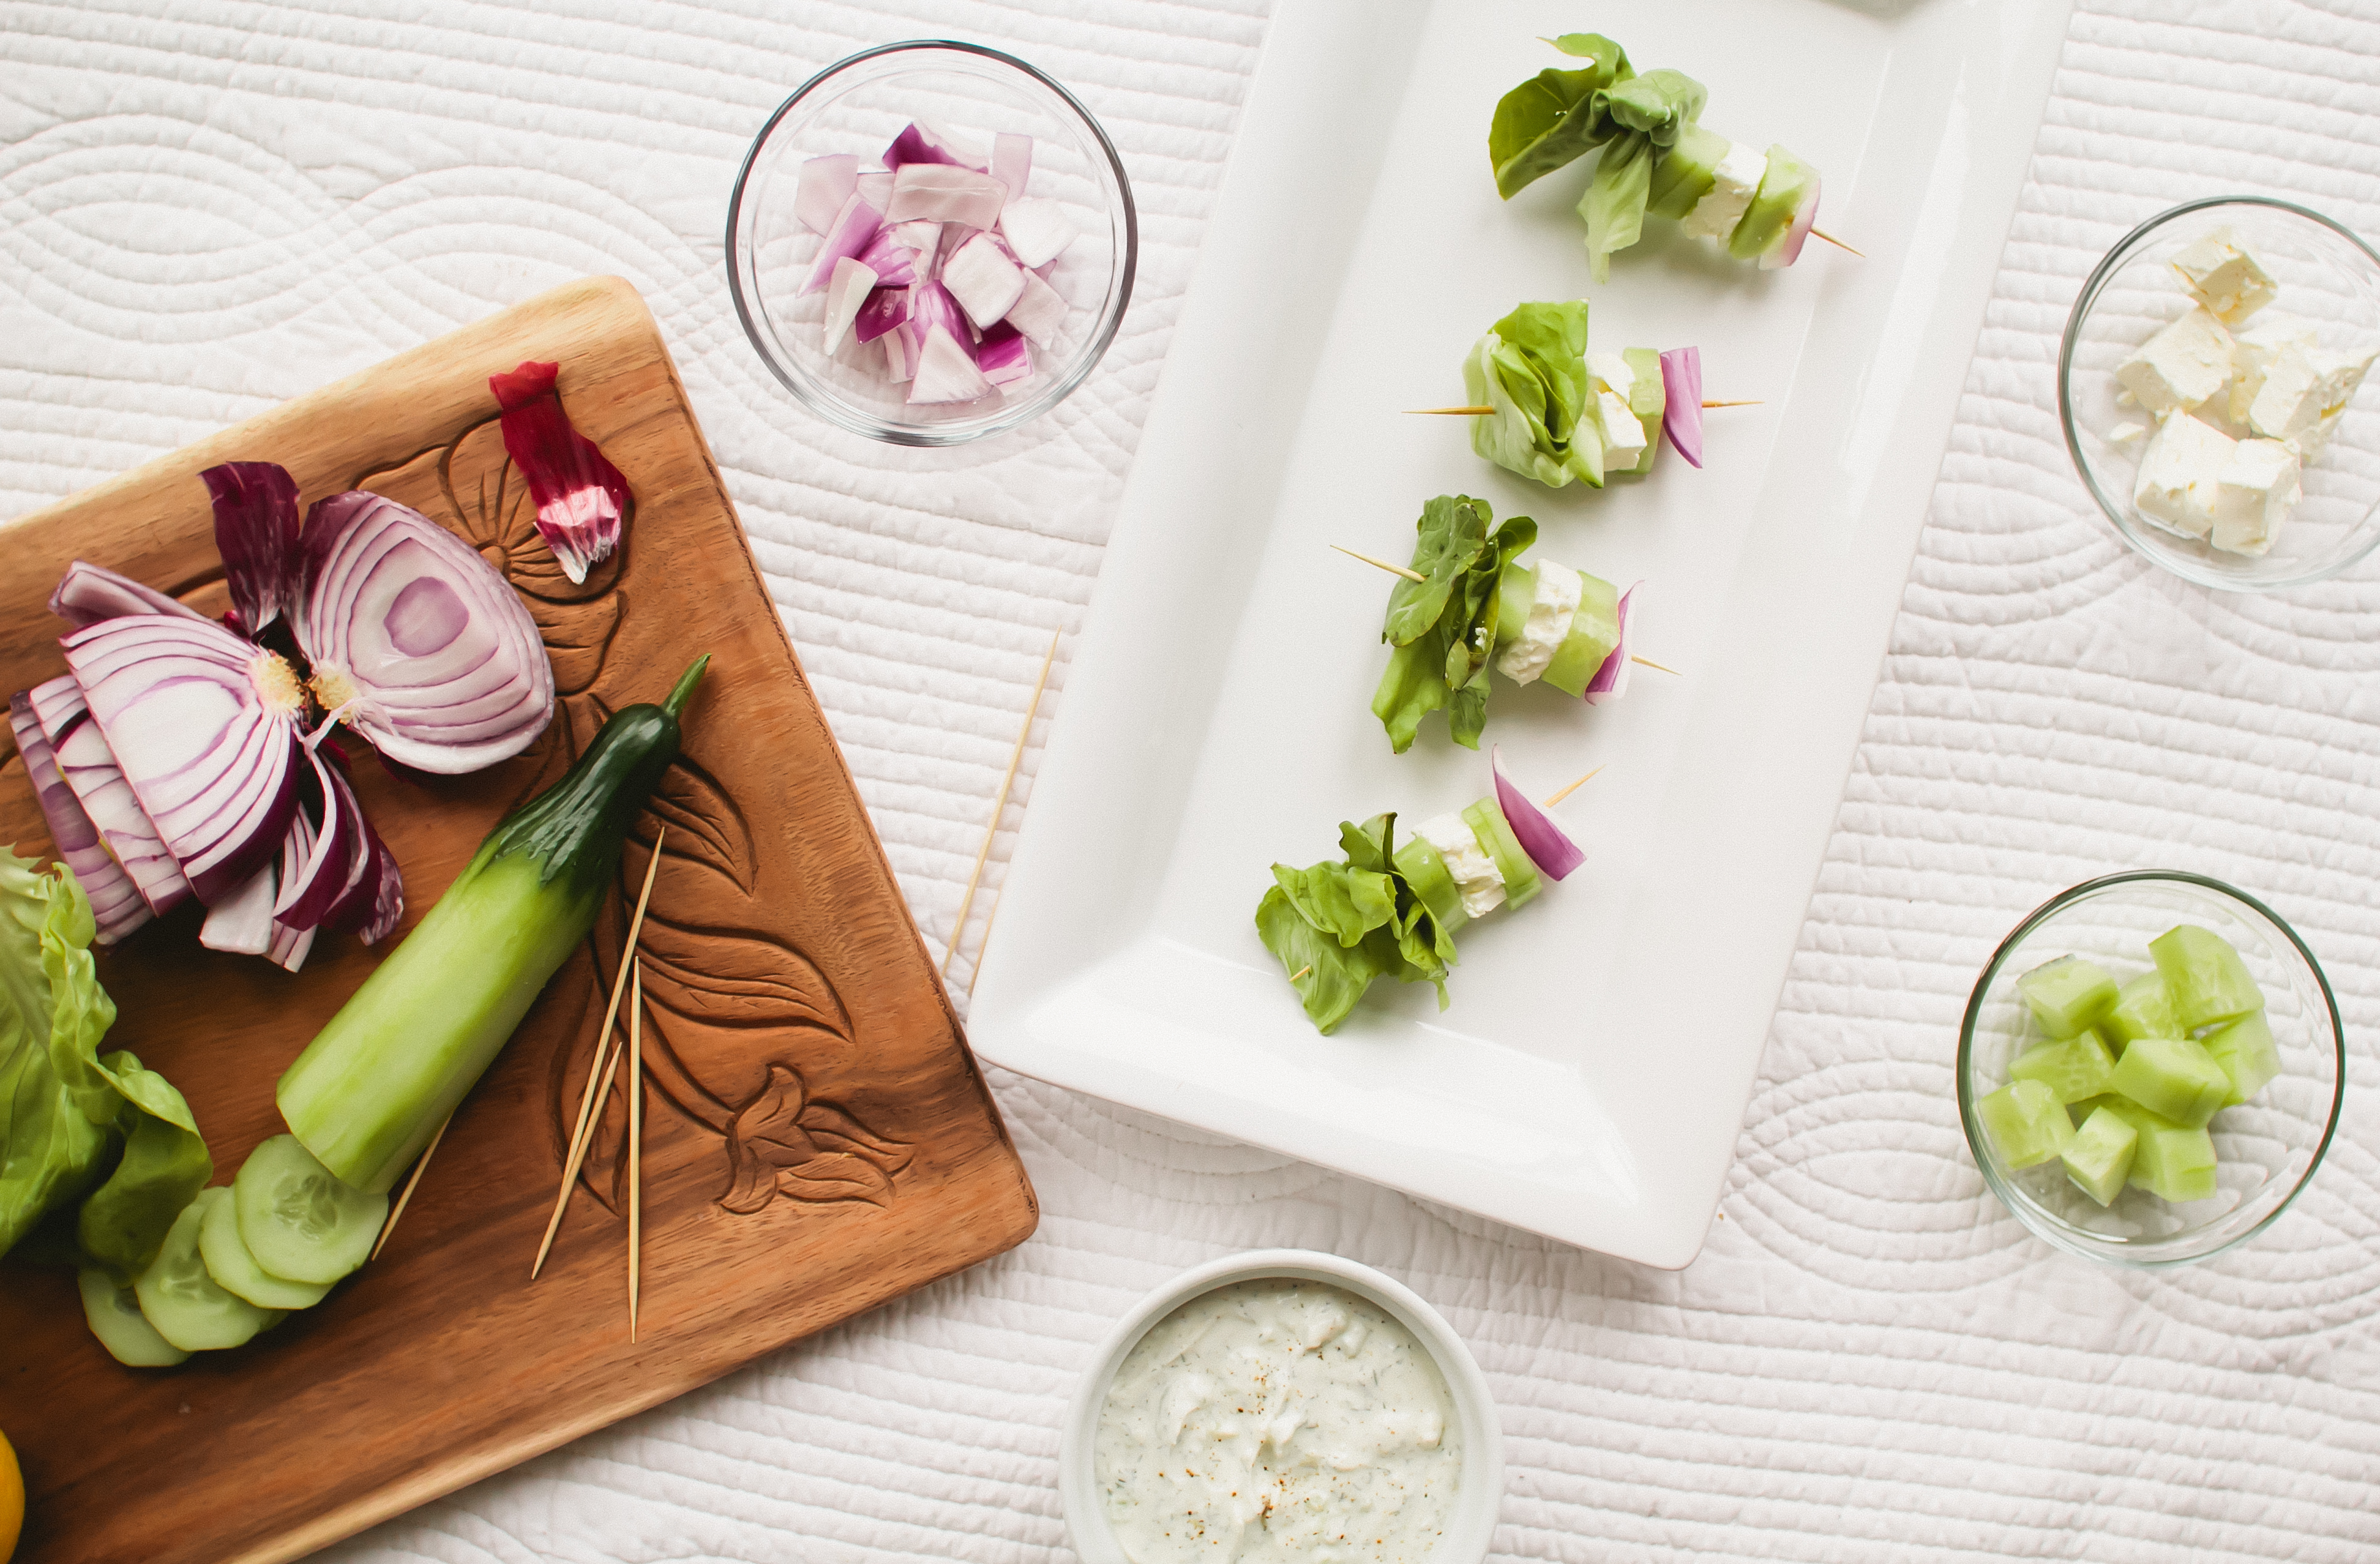
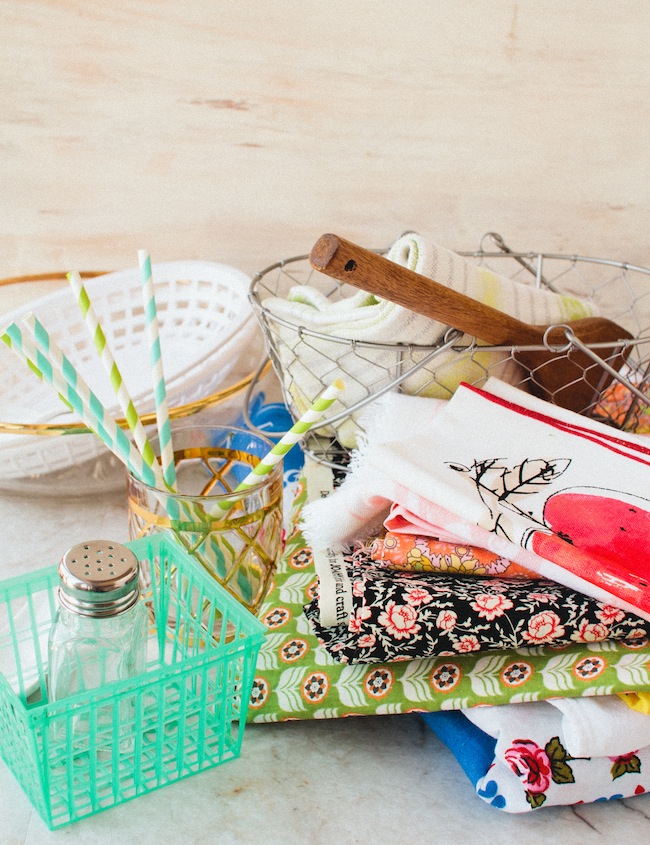
5. Use pretty dishes. Seriously. This may seem like a no-brainer, but I’m throwing it out there. ALL of the dishes you see in my photographs were purchased at thrift shops for no more than $1.50 a piece. I also like to take pictures on my wooden cutting board because I think it looks pretty and rustic, like I’m cooking on a farm and using fresh eggs from my backyard chicken coop or something. I’ve also used the exposed brick in my apartment as a pretty background.
6. Dress up your dishes. No, I don’t actually place a strategic dollop of sauce and a sprig of cilantro on every dish I plop in front of my diners, but it sure looks good in a photograph. It easier to do if you grow your own garnishes, which I do. If I can do it from the inside of my tiny 4th floor condo, so can you.
7. Artificial enhancement isn’t a bad thing. You don’t have to be a Photoshop expert to do it. I use the program that came with my camera, which allows me to adjust the brightness, contrast, saturation, sharpness and hue. Sometimes I use it simply to make images look better, as was the case in this before and after:


You can also create really cool stylized images like this one:


I also use this program to crop photos.
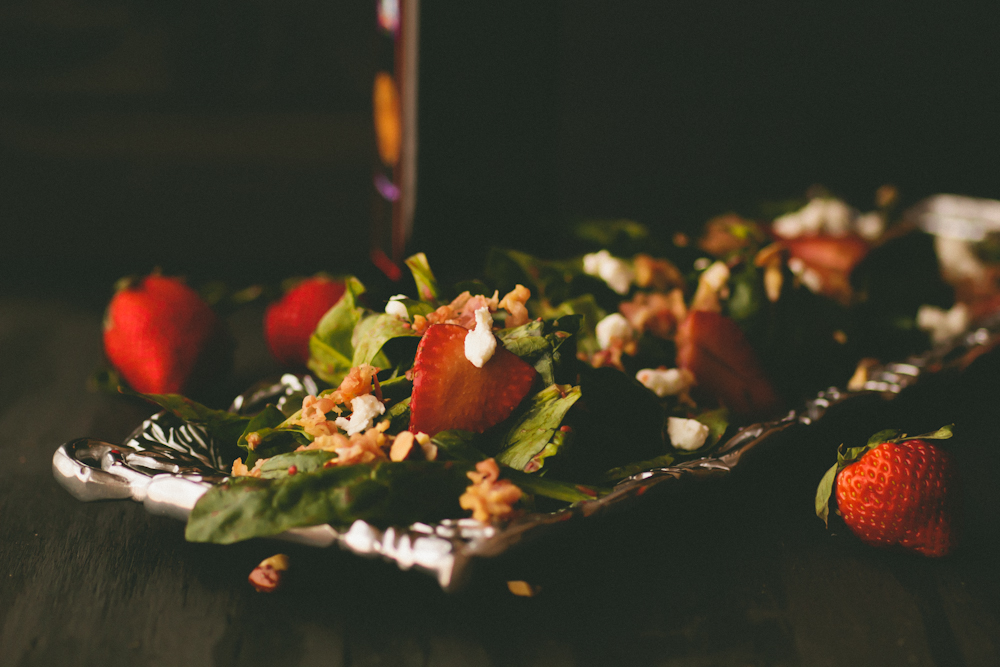
8. Keep color in mind when cooking. Colorful food is healthy (unless we’re talking about Cheetos) and it also photographs better. If your dish is a little drab, dress it up with garnishes, or put it on a colorful plate. Here’s a good example:

This shredded chicken is a not-so-pretty brown color (although I did brighten it up by adjusting the hue and saturation) but the plate makes the picture pop.
9. Don’t put all your eggs in one photographic basket. I take LOTS of shots of my food. The more shots you take, the more chances you have of getting the perfect picture. Plus, in the age of digital, there’s no reason not to. Except at restaurants of course, where you may get some nasty stares from fellow diners.
10. Imperfection is interesting. The shots of meticulously done pastries in Martha Stewart Living are great and all. But don’t strive for this insane level of perfection. Sometimes imperfection is pretty. These little corn muffins are a little “loppy” as Dave would say …

… but they look pretty delicious to me.
Hope this post helped, but just in case you want some additional sources, here are a few more good articles on the topic:
- What’s Cooking has several helpful articles, here and here
- WrightFood has a more technical tutorial on editing
- The food photography section at Food Bloggers Unite has some great quick tips
- Here’s something I’ve always wondered about: three-handed food photography at Bitter Sweet
- Digital Food Photography is a book I’m eyeing on Amazon
Do you have any food photography tips?
48 Comments
Sara
Great advice. I second taking a lot of photos. It’s much better to have a lot to choose from than to find the 2 pictures you took are blurry.
Melissa
This is awesome!! Thanks so much for putting this up! I’m going to HAVE to get a camera now!
Kristen
Great tips and great photos!
ghweiss
I disagree with point #1. If you follow all the other (great) points you made, plus learn a little Photoshop, it’s practically irrelevant what kind of camera you use.
Do get a tripod though. They cost so little and help so much!
admin
Thanks for the comment. I do agree that Photoshop is a great resource, and a top-of-the-line camera isn’t necessary, but I still believe that a better camera takes better pictures, simple as that. Also, automatic cameras won’t allow you to adjust the shutter speed and aperture in order to take good low-light pictures and get the cool short-depth-of-field results produced by wide apertures.
Kitty
Whenever I mess with the aperture and shutter speeds my pictures end up grainy – no matter what the setting, and I’ve tried it seems every possible combination! any suggestions?
Nick
There is one other setting that I adjust every once in awhile that really helps: ISO, which is the setting for how sensitive the image sensor is to light. Generally it ranges from 100-1600. I’ve found that anything above 800 on most cameras gets a bit pixelated though.
A bump up from 100 to 400 on the ISO setting can greatly reduce your need for more external light and you won’t be able to tell the difference on the final product unless you are blowing it up to an 8X10 print or something crazy.
Good tips!
Ben
Great tips! About point #1, a better camera doesn’t automatically takes better pictures, it is the photographer behind the lens that makes the magic happen ;). But you are right, having a camera with advance features gives you more room to create that magic.
Thanks a lot for the shoutout 😀
admin
Yes! Thanks for the comment, you are absolutely right–I adjust ISO from time to time. I usually keep it high, though, so thanks for the tip about the pixelation!
admin
Very true!
admin
I’ve noticed from experience that if the light is too low, and I have to use a wide aperture and very slow shutter (around 4.0 and 1/15) my pictures can be a little grainy. Maybe try shooting in better lighting? Does anyone else have insight into this problem?
catty
hey, this is a really great post! I have a food blog too and take my pics with a Canon point n shoot. Most turn out ok, but lots have been rejected by tastespotting 🙂 Having said that i also do a happy dance every time I get one in! I like point and shoots, I’m too lazy for anything else, and have been recommended the Leica D-Lux 4. Am actually going to check it out this weekend – any feedback on the Leica?
admin
Hmm, never heard of that one, but I did love my Canon elph powershot until I lost it! Check CNET–they have really in-depth camera reviews!
Lori @ RecipeGirl
Great tips! I just got a new camera… my first DSLR (finally!) and I’m slowly learning how to use it. Just reading a big old book about it and trying out some different things.
I take a TON of pictures of my set-up too… sometimes over 100 in one session. I really find that it’s a must to come up w/ the perfect photo. I get all kinds of props, dishes, glassware, interesting silverware, & placemats at Home stores & find a bunch of them on clearance for a dollar or two. I keep ribbons, fabric swatches and other goodies at the ready, and I use LGO lights when needed too. It’s great fun, isn’t it?
admin
Hello, thanks everyone for commenting–For those who have subscribed to the comment notification, are you getting emails with HTML code? If so, let me know, I’m trying to troubleshoot the plugin. Thanks!
Margaret
Thanks so much for these tips. I am still learning to photo food and it gets a lttle better each time, but always open to new ideas.
Patti Londre
You asked for tips? I wrote a series of four posts on Tips and Tricks in Food Photography having interviewed a team of food styling pro’s (I’m NOT the pro, but working on it). They are listed under Food Photography 1-0-1 on my blog:
http://worththewhisk.com/2009/07/07/food-photography-10-tips-and-tricks-for-food-bloggers/
And my new Canon G10 just arrived last week, so my photos OUGHT to be getting better. Thanks for your great post.
admin
Great tips, thanks Patti!
behnding
this was very helpful, thanks!
deeba
Thanks for this wonderful tutorial. I have to get to the bottom of apertures and shutter speed. I have a Canon G9, which is a point and shoot, but I love it and it gives me good pictures (at least I think so). There is so much to learn here…
Ooooh just read Patti got a new G10. Yay…I love these series that Canon has made. Will check out pattis’ 101 too!
Have a great day, and TY once again!
Kate
Thanks, that’s really helpful! It’s so frustrating when you cook good food but with photography skills lacking you can’t get it out there! Time for a new camera…..
Missy
Great post, I loved the examples you had.
Ben
Grainy pictures come from faster ISO numbers. I always try to shoot in ISO 100 because that’s the “film” speed that gives you the best picture quality. But if you are shooting at f/4.0 and 1/15 shutter speed you definitely need to use a tripod and I would recommend using the timer or a remote shutter release so you don’t shake the camera when pressing the shutter button. I hope this helps 😀
admin
Great tips, thanks Ben!
Sean
Thank you so much for these tips! They helped so much in demystifying those technical terms!
Pingback:
Pingback:
bejin.felix@gmail.com
Good post, but have you thought about Transfer to Photoshop on Canon Digital Photo Professional before?
The Comfort of Cooking (Georgia)
This is a fantastic article. Thanks for all the wonderful tips!
Linda
Extremely helpful tips for beginners. Just borrowed a friend’s tripod – what a huge difference. No more blurry pictures and holding my breath while trying to take a still photo. Thanks for sharing.
Garlic Girl
I lost my camera about a month ago and I’m lost without being able to post recipes! : ( It was great to come across this post as I’m out the door and ready to invest in a new camera! Thanks for the tips!
Karen
Thanks for the tips. I’ve been struggling with getting my photos to look just right. Food is a tricky subject! I’m definitely going to try these out.
Jen
Awesome POST just at the time I need it!!!! I’m just starting out, have a camera that’s NOT meant for food photos. I’m learning the ropes, I stumbled upon your post and am so THANKFUL! I am itching to get my hands on a better camera!
Pingback:
Lumixer
Thank you so much for the tips
Pingback:
TheChouxGirl
THANK YOU SOOOO MUCH!!!!
your site is so helpful and i love it 🙂
The Eater
I love your advise and I would definitely follow these helpful tips! Thanks a million!!
Nathan Johnson
it also seems to be that a very large light source…like a giant window…also helps food photograph nicely
Pingback:
Ciara (@My Fussy Eater)
Great tips thanks! I’m very new to food blogging so still trying to get to grips with photography and styling.
Pingback:
Shruti Shrivastava
Great list adn tips. I would probably add one; taking pics at the time when the dish is getting prepared sometimes comes out very nice.
And if you have an open kitchen, like I have where I do all my shoots, you wouldn’t mind taking all the angles quickly as there is no issue of light adjustment due to the availability of natural light.
Cherie
Right now, I’m relying on Canon Point shoot camera. After making the first few lines, I made my mind to get a DSLR. As said earlier, should I continue using Canon or switch to Nikon?
Pingback:
jehan
Thank you for these tips. Until a month ago I was using my phone to take my shots on food but the husband thought they were good enough to buy me a Canon sh60. This camera has such a powerful zoom that I can actually see the craters of the moon.
Being a new blogger and having such an advanced camera is intimidating. Again thank you for the tips, simple enough to follow.
jehan
Thank you for these tips. Until a month ago I was using my phone to take my shots on food but the husband thought they were good enough to buy me a Canon sh60. This camera has such a powerful zoom that I can actually see the craters of the moon.
Being a new blogger and having such an advanced camera is intimidating.
The Flavor Of Green
Excellent article! Thanks! I’ll try to apply some tips to my photos:)